
Must-Know Safety Tips for Playground Assembly
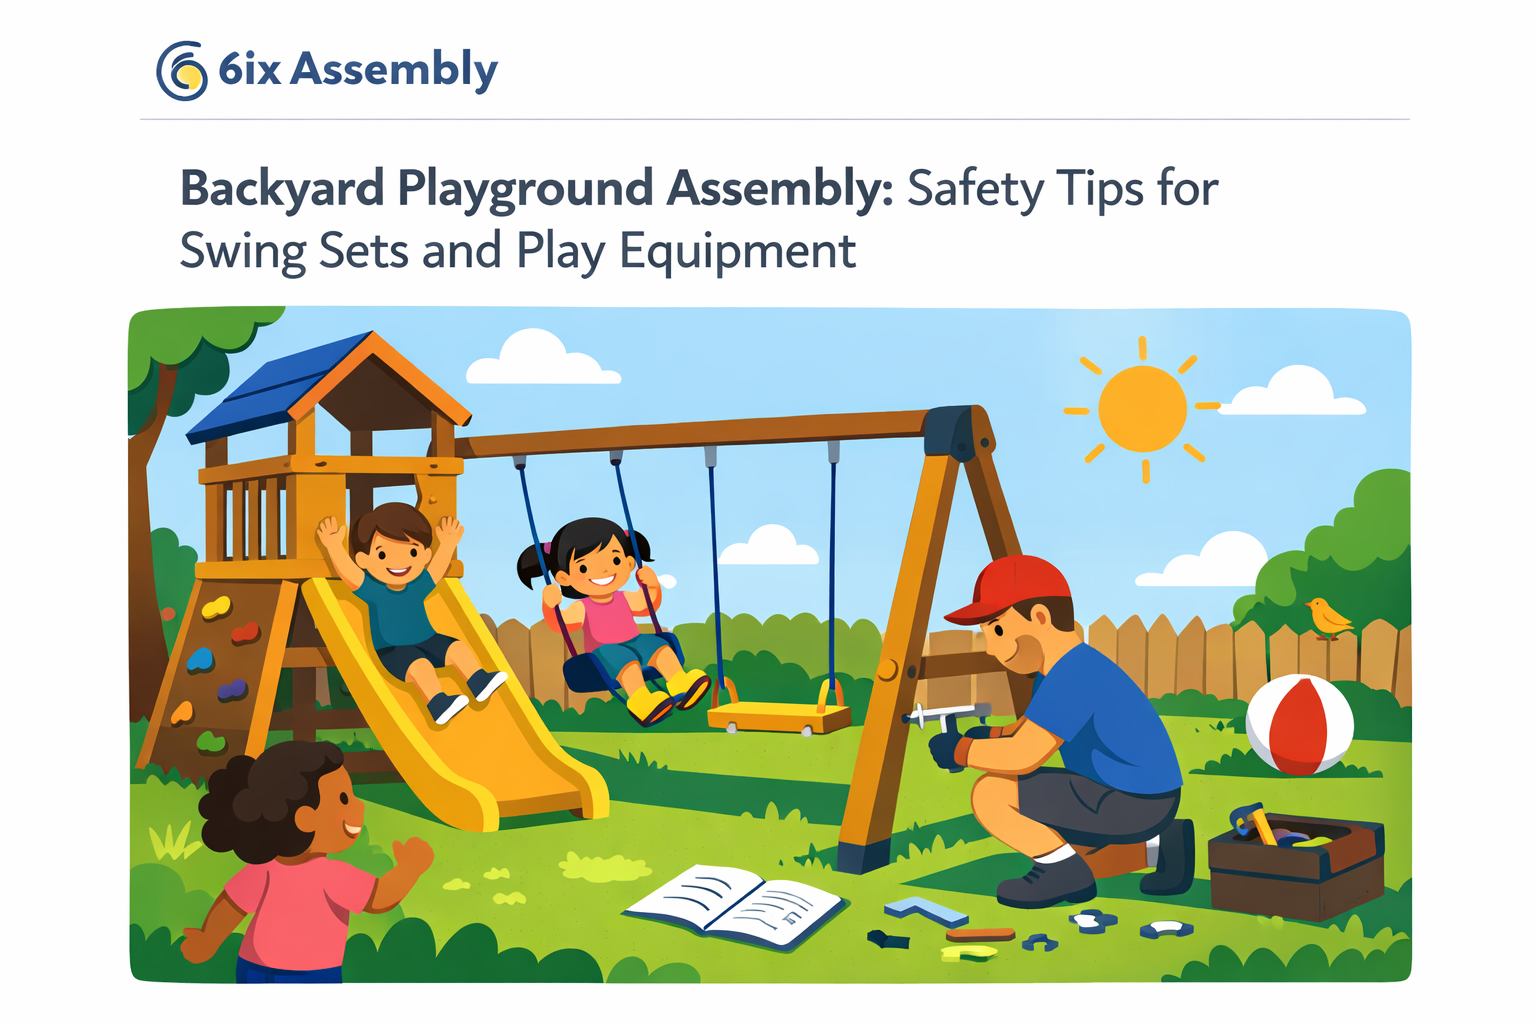
Setting up a backyard playground should be exciting for your kids. But if it’s done wrong, it turns into a liability real quick.
Most injuries don’t come from “bad equipment.” They come from bad installs. Wrong surface. No clearance. Loose hardware.
At 6IX Assembly, we’ve seen it all. This guide breaks down exactly how to install a playset properly so it’s actually safe, not just “looks fine.”
Why Safety Matters More Than the Build Itself
Here’s the reality most people ignore:
Kids fall. That’s not preventable.
What matters is what they land on and what they land near.
Falls are the #1 cause of playground injuries. The difference between a minor bump and a hospital visit is:
Ground surface
Fall zone spacing
Stability of the structure
There’s also a second risk most people overlook completely:
Strangulation hazards.
Loose clothing, ropes, or even helmets can catch on equipment. It’s rare, but when it happens, it’s serious.
Step 1: Choose the Right Location
If your base is wrong, everything else is already compromised.
Your playset should be:
On level ground or properly leveled
At least 6 ft (1.8 m) away from fences, walls, or structures
Clear of rocks, roots, branches, and overhead wires
Positioned to avoid direct sun on metal surfaces
And most importantly:
Plan your fall zone BEFORE you build.
If you’re opening boxes before mapping the space, you’re already doing it wrong.
Step 2: Ground Prep and Drainage
A lot of installs fail here.
Bad ground = shifting structure = long-term safety risk.
You need:
Proper leveling
Drainage so water doesn’t sit under the structure
Containment if using loose-fill surfacing
If water pools or the ground shifts, your anchors will eventually fail. No debate.
Step 3: Always Do Utility Locates
If you’re digging for anchors, you’re not guessing.
In Ontario, Ontario One Call is mandatory. It’s free and legally required.
Hitting a gas or electrical line isn’t just expensive, it’s dangerous.
Step 4: Build It Level and Tight
This is where most DIY installs fall apart.
Key rules:
Do NOT improvise hardware
Use proper tools, not “whatever fits”
Fully tighten everything
Recheck after assembly
Loose bolts are one of the most common failure points.
And no, “it feels tight” is not a standard.
Step 5: Anchoring Is Not Optional
If your playset isn’t anchored, it’s not safe.
Anchoring prevents:
Tipping
Shifting over time
Structural instability during use
Anchors must be:
Installed correctly
Covered with surfacing
Not exposed (trip hazard)
Skipping this step is one of the worst mistakes you can make.
Step 6: Fall Zones and Clearance
This is the part most people completely underestimate.
Minimum standard:
6 ft clearance in all directions
For swings:
Front and back clearance = 2x the height of the swing beam
If your layout is tight, your setup is unsafe. Simple.
Also:
Do NOT overlap play zones. Kids will run through swing paths. That’s how injuries happen.
Step 7: Use Proper Surfacing (This Is Huge)
This is the difference between safe and unsafe. Period.
Do NOT install over:
Concrete
Asphalt
Grass alone
Grass is NOT considered safe. It compacts and offers almost zero impact protection.
Good options:
Wood chips / mulch
Rubber mulch
Sand or pea gravel
Rubber tiles or poured rubber
Recommended depth:
Around 9 inches for most setups
Minimum 6 inches for smaller structures
And no, installing it once is not enough. It needs maintenance.
Step 8: Set Rules (Most People Skip This)
You can install everything perfectly and still create risk if you ignore usage.
Non-negotiable rules:
No helmets on equipment
No scarves or drawstrings
No ropes or skipping ropes attached
One person per swing
A lot of homeowners completely miss this and assume installation = safety.
It doesn’t.
Step 9: Maintenance Is Ongoing
Your job doesn’t end after installation.
Things loosen. Surfacing shifts. Parts wear out.
Basic schedule:
Daily (during use):
Quick visual check
Every 2 weeks:
Tighten bolts
Check surfacing levels
Monthly:
Inspect swings, chains, and hardware
Seasonally:
Full inspection
Re-level if needed
Replace worn parts
Ignoring maintenance is how safe setups turn into accidents.
Common Mistakes to Avoid
Installing directly on grass
Not anchoring the structure
Poor swing clearance
Mixing hardware or skipping steps
Letting kids wear helmets or loose clothing
Never checking bolts after installation
Most problems are not the product. They’re the install.
Why Homeowners Hire 6IX Assembly
You can do it yourself.
But here’s the trade-off:
You either spend hours figuring it out, or you get it done properly the first time.
With 6IX Assembly, you get:
Fully insured installation
Proper leveling and anchoring
Correct spacing and fall zone planning
Complete setup with cleanup
12-month workmanship warranty
This isn’t just assembly. It’s risk reduction.