
Hanging a Heavy Mirror in a Toronto Condo: What to Check First
A mirror can be the right width for your entryway and still be wrong for the installation you have in mind. The back may only support one orientation. The wall may be different from the one shown in the retailer’s photos. And the position that looks good on a floor plan may reflect a doorway rather than the room you want to see.
If you are finishing an entryway or dining room before fall and winter get-togethers, work through these details before ordering or booking installation. A little planning now makes the final placement much easier to get right.
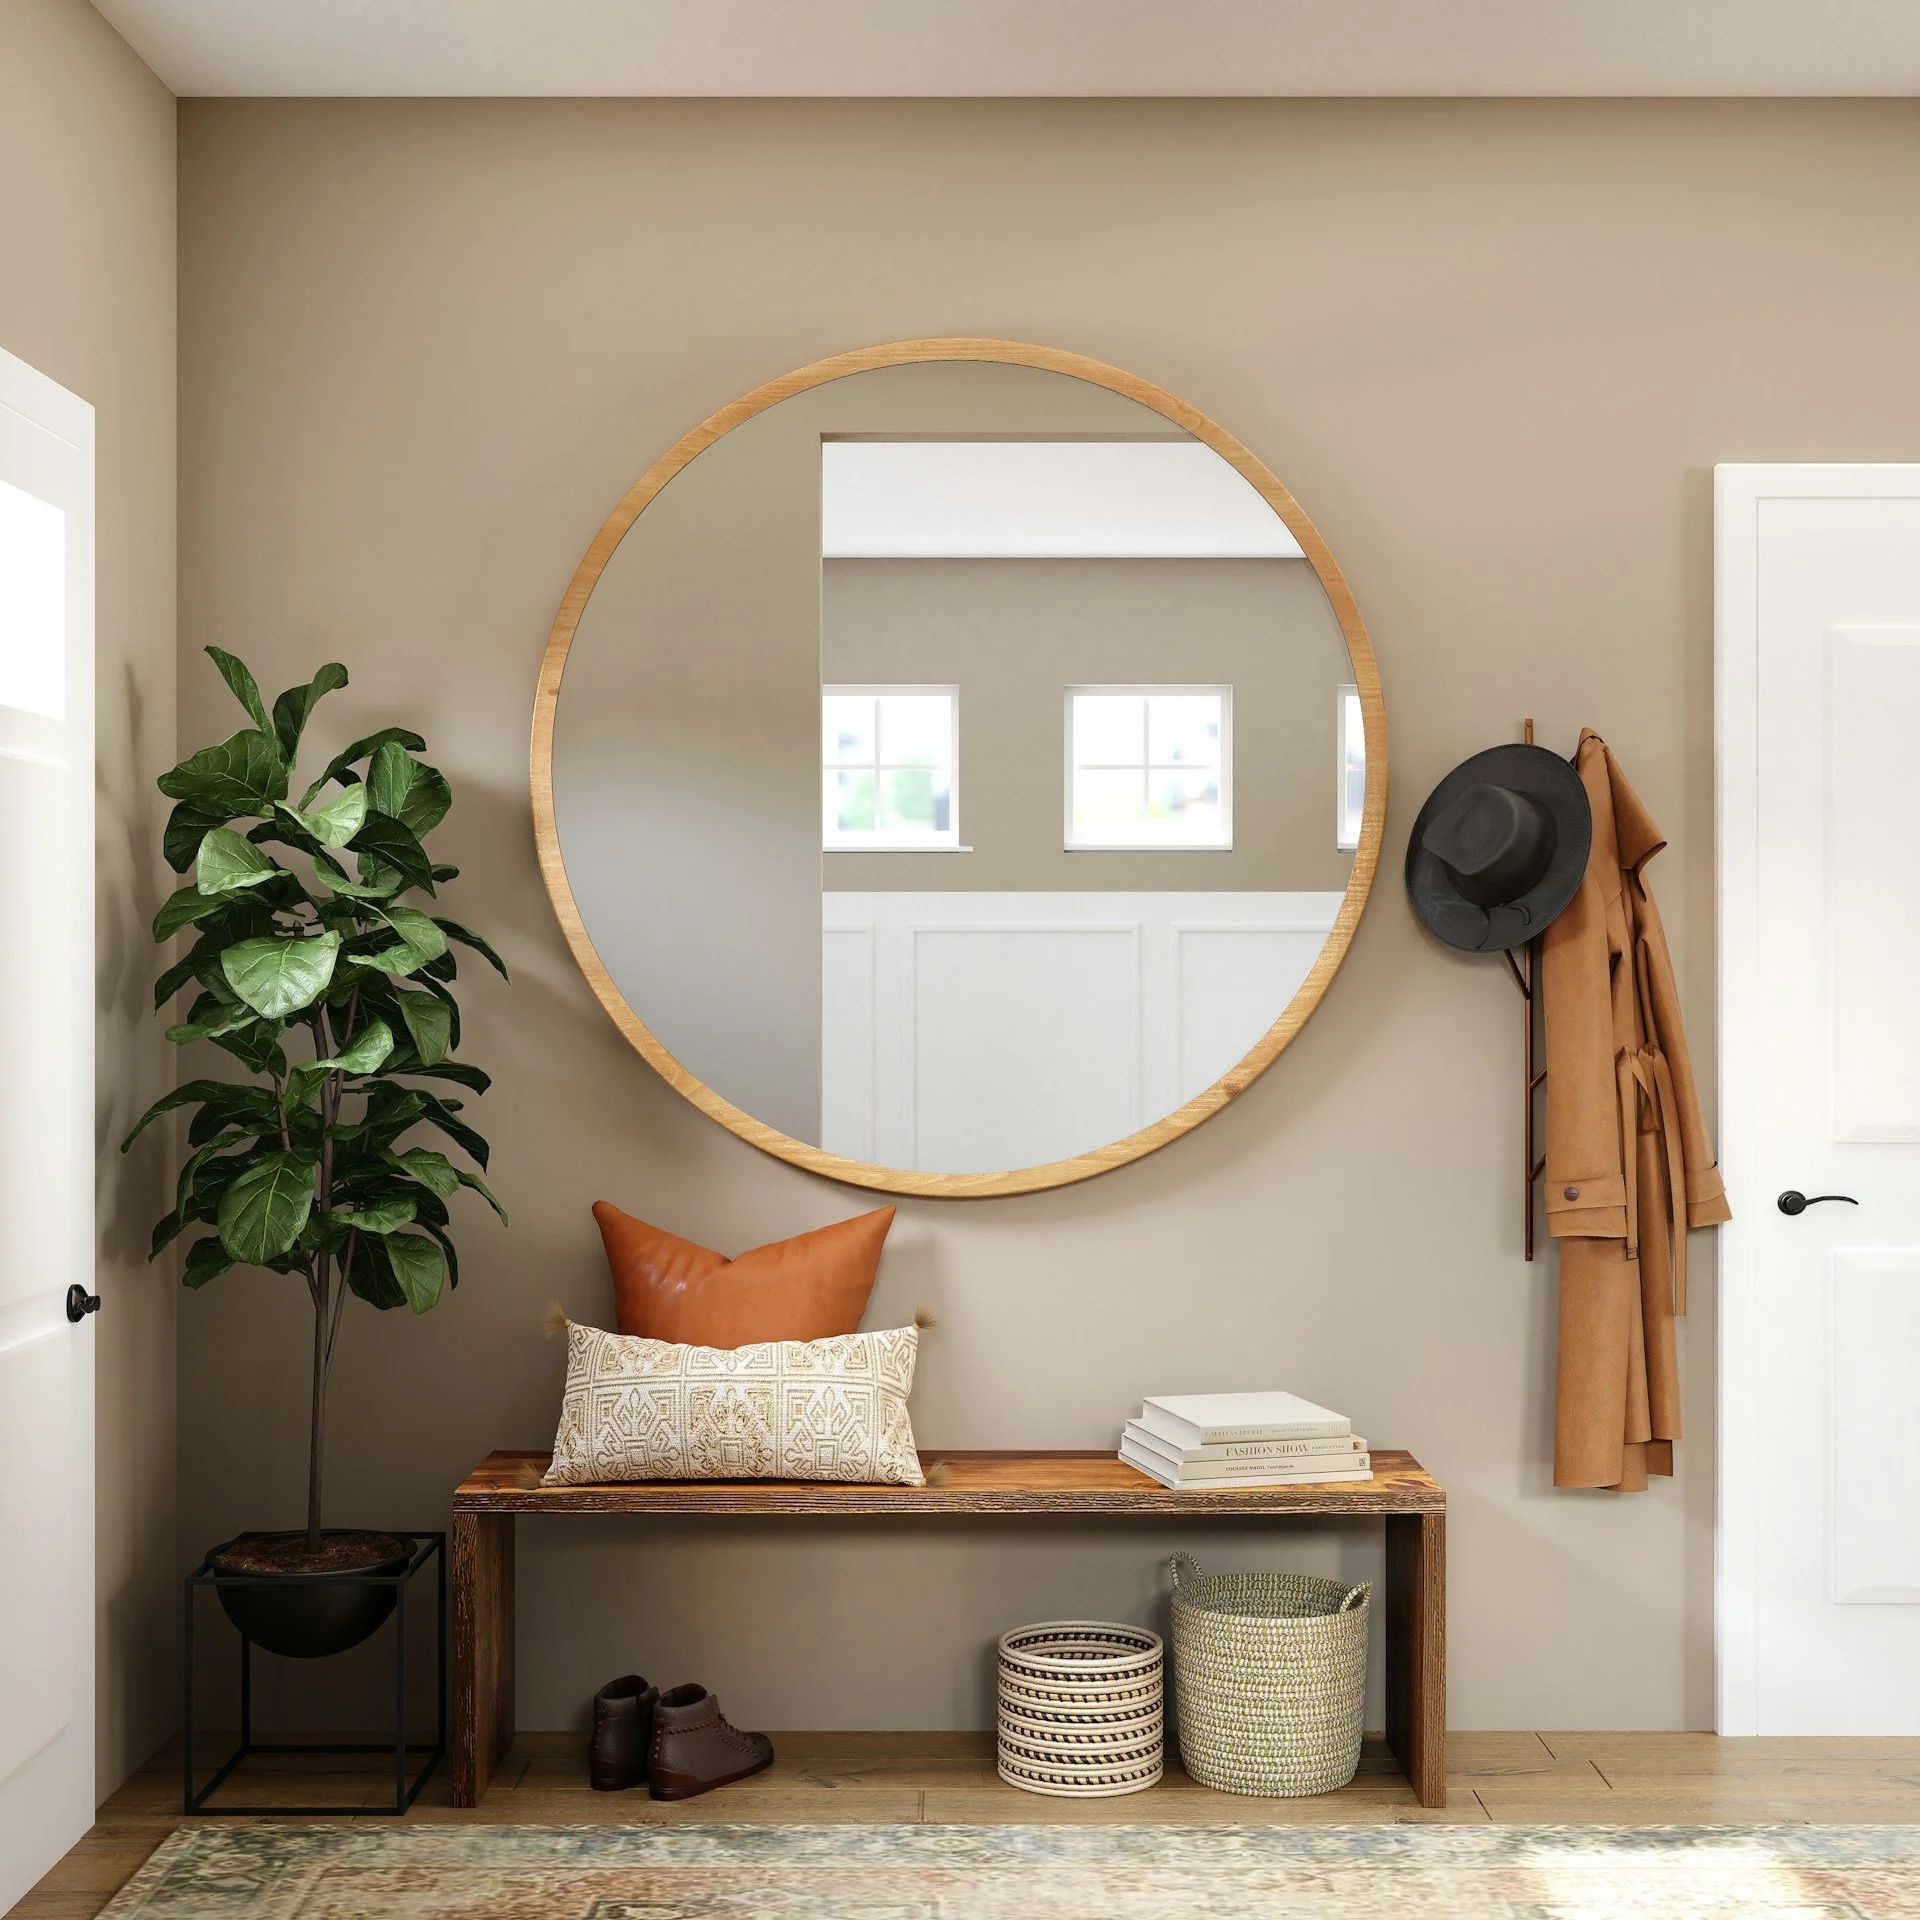
Illustrative placement reference. Check the mirror’s relationship to furniture and what it reflects before confirming its height.
Start with the back of the mirror
The front tells you whether you like the mirror. The back tells an installer far more about how it needs to be hung.
Keep the product link and installation instructions. Check the overall dimensions and the weight of the complete mirror, including its frame. If the retailer has not listed the weight, ask for it rather than estimating from the photograph.
Look for the intended mounting points: fixed brackets, D-rings, a cleat or another manufacturer-designed system. Photograph the full back and a close-up of each attachment point. Keep any supplied brackets and fixings together. Do not add wire, relocate a bracket or modify the frame to make a preferred position work without the manufacturer’s approval.
Confirm the orientation before planning the room
A mirror that looks symmetrical is not necessarily designed to hang both ways. The mounting arrangement may support portrait installation only.
For example, Umbra’s Hub Leaning Mirror is designed for vertical wall mounting or vertical leaning, and the manufacturer specifically rules out horizontal hanging. It also includes anti-tip hardware for leaning. Those are requirements for that model, not a rule to apply to every mirror.
If you want a landscape mirror above a sideboard, confirm that your exact model allows it before buying. A leaning mirror also needs to be used and secured according to its own instructions; resting it against a wall is not automatically a complete installation.
Find out what the wall actually is
Tell us what you know about the wall, and say when you are unsure. Paint, wallpaper, tile or panelling describes the finish. It does not establish the construction or support behind it.
In a condo, ask building management about relevant installation rules and any available information about the proposed wall. A wide photograph helps us understand the location; a close-up helps show the finish. Neither replaces an on-site assessment where the construction is uncertain.
Flag nearby switches, outlets, plumbing fixtures, built-in cabinetry and other features. Do not make exploratory holes to find out what is behind the surface. The mounting method needs to suit the mirror, the wall and the conditions at the actual location.
Choose the placement with the furniture in position
Put the console, sofa or sideboard where it will stay before deciding where the mirror belongs. Measure the usable wall area, including trim, switches and anything that interrupts it.
A full-size paper template can help you judge the shape and position without repeatedly lifting a heavy mirror. If you attach a template, use a method suitable for the wall finish and test it discreetly first. Check the proposed position from the doorway, from a seated position and from the other end of the room.
Consider what the mirror will reflect, not just the wall it will cover. A view of a window or artwork may be preferable to a direct reflection of an open storage area. Also check door swings and walking routes, especially in a narrow entryway where the frame projects from the wall.
There is no single hanging height that solves every room. Agree on the placement before drilling, particularly if it needs to follow a designer’s drawing or align with neighbouring artwork.
Keep the supplied hardware, but check its suitability
Hardware in the box is useful information, not proof that every fixing is appropriate for your wall. The installation needs to account for the manufacturer’s mounting arrangement and the available support.
A weight rating on an anchor packet does not answer all those questions. Do not choose fixings from the mirror’s weight alone or assume an old picture hook can be reused. Send photographs of the existing hardware so the installer can review the complete setup.
The same care applies to a proposed no-drill solution. 3M’s instructions for Command Picture Hanging Strips, for example, exclude valuable or irreplaceable items, hanging over beds and use on wallpaper. Product restrictions matter alongside weight limits. A heavy mirror should follow its own approved mounting instructions, not a shortcut borrowed from a lightweight picture frame.
Plan access as carefully as the wall
A large mirror needs a route into the room and enough clear space to handle it. Tell us about stairs, narrow turns, elevator bookings and the intended installation height. Keep pets and children out of the work area during installation.
Size, shape, fragility, height and access can make additional installers necessary even when the weight does not sound exceptional. Mention an above-stair location or an awkward recess before the appointment so the crew and equipment can be planned properly.
What to send for a mirror installation quote
You do not need to diagnose the wall or select the anchors yourself. These details give us a useful starting point:
The exact product link or model, overall dimensions and weight if known.
A front photo, a full back photo and close-ups of the mounting points and supplied hardware.
A wide photo of the proposed wall and a close-up of its finish.
The intended position and height, with nearby furniture visible.
Your service location, access details, building restrictions and preferred installation date.
For several pieces, send an item list and identify which wall each piece belongs on. That helps distinguish one straightforward mirror installation from a multi-room art and mirror project.
Ready to finish the room?
Our art and mirror installation service covers projects across Toronto and the GTA, with the piece and site reviewed before the scope is confirmed. We are insured, remove packaging, and provide a five-year workmanship warranty on mounted installations, subject to the installation’s scope and conditions.
Request a mirror installation quote with the product link and photographs. We will review what you have, where it is going and what the installation needs before you commit to an appointment.
