
Buying a Shed This Fall? Get the Base Ready Before Assembly
The shed kit is ordered, the garage is full, and you would like the outdoor storage sorted before winter. The next step is not necessarily booking assembly. It is confirming what the shed will stand on, who is preparing it, and when that work will actually be finished.
For an October shed project in Toronto or the GTA, treat the base and the assembly as two separate jobs with a clear handoff. Here is how to make that handoff useful, whether you are starting with bare ground or hoping to reuse an existing pad.
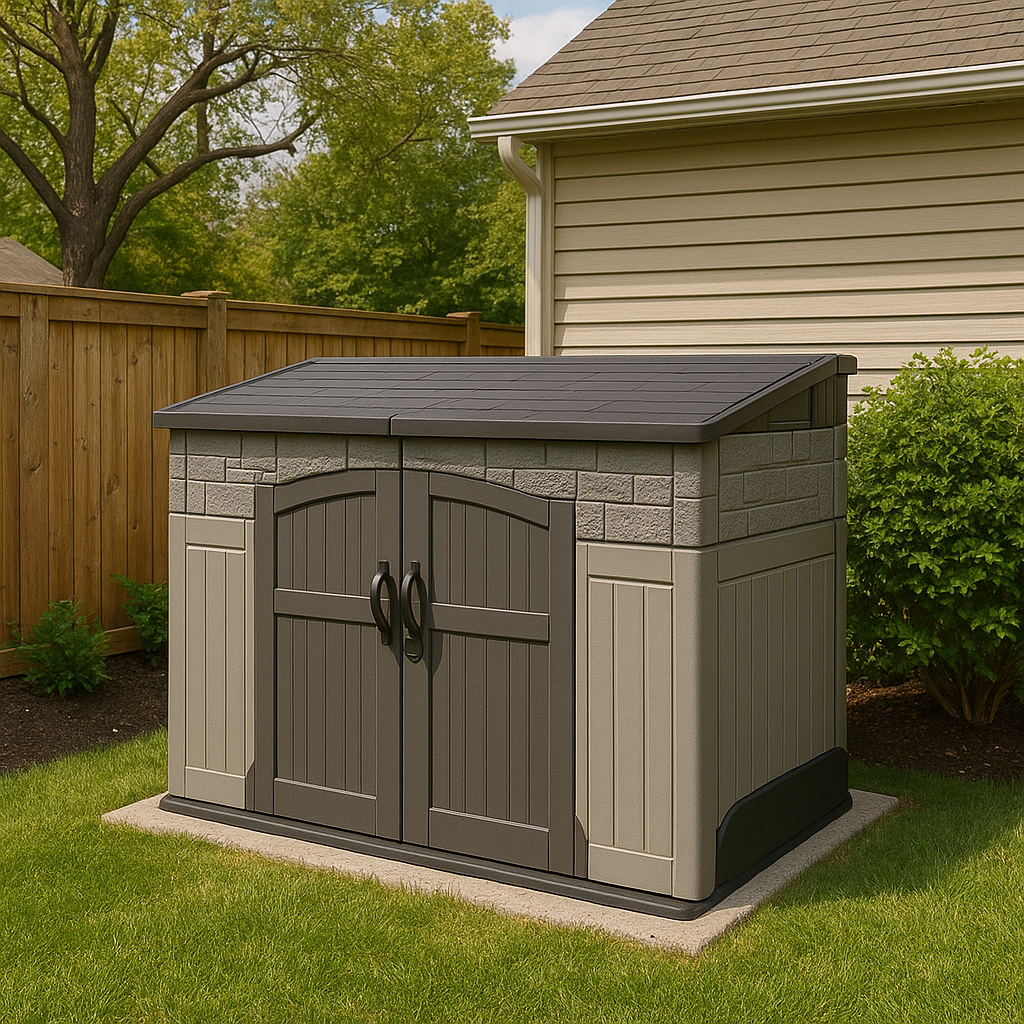
Illustrative shed reference, not a completed 6IX Assembly project. The base and clearances must be checked for the exact kit.
Start with the manual, not the size on the box
Send the exact shed model and current assembly instructions to the person preparing the base before that work begins. A product called an “8 by 10” shed is not a construction drawing. The manual should settle the required base dimensions, support and installation details.
Keep four measurements separate: the base, the assembled walls, the roof overhang and the space needed to work around the kit. Then check the door swing and the route you will use to bring a lawnmower, bicycle or storage bin inside. A shed that fits between two fences may still be awkward to assemble or use there.
Keter’s Canadian shed-foundation guide explains why level support and drainage matter. Use it for context, then follow the requirements for your particular kit. There is no single base detail that should be copied to every shed and yard.
A built-in floor does not finish the site preparation
A floor panel supplied with a kit is part of the shed. It does not replace a suitable supporting base underneath. Likewise, an existing patio is not automatically a shed-ready foundation simply because it looks flat in a photograph.
Tell your base contractor which kit you have chosen and ask them to confirm that the finished surface meets its requirements. If you are reusing a pad, flag uneven sections, visible damage or places where water collects. Photos can help us discuss the assembly, but they cannot establish the condition or construction of what is underneath.
Do not choose a foundation type, thickness or anchoring method from a general blog post. Those decisions belong with the exact instructions and an appropriate site or construction professional. Confirm placement and any required approvals with your municipality before committing to the location.
Give the base job a real completion point
“The base should be done by Friday” leaves several questions open. Will it be complete, clear of tools and ready for the shed to be installed on it? Does the contractor need additional time before the surface can be used? Who will tell you if the weather changes that plan?
Ask for that ready-for-assembly point explicitly. Then coordinate the installation around it, rather than arranging two crews to arrive on the same unfinished site. If new concrete or another time-sensitive material is involved, let the contractor confirm readiness. Do not assume an overnight wait is enough.
For late-fall work, leave room to adjust the plan. Ask the installer to review the manual’s weather and handling instructions, and confirm conditions closer to the visit. A preferred date is useful; it should not become a reason to assemble on an unsuitable surface or work around an unresolved site issue.
Plan where the cartons and loose parts will go
Walk from the delivery location to the base. Note gate openings, steps, tight turns and anything that blocks the route. Ask the retailer for carton dimensions and confirm where its delivery service will leave the kit.
Arrange storage according to the manufacturer’s instructions while the site is being prepared. Keep labels and the manual accessible, and report damaged packaging or missing cartons to the retailer promptly. Avoid scattering panels and hardware around the yard before the assembly plan is confirmed.
There also needs to be a practical place to unpack and organize components, not just an empty footprint for the finished shed. Send a wide photo that shows the surrounding working area as well as the base itself.
What 6IX Assembly handles, and what to arrange separately
Our shed assembly service covers customer-supplied wood, metal and resin kits. We review the model, accessories, site access and prepared surface before confirming the scope. Packaging removal is included.
We do not excavate, level the ground, pour concrete, construct bases or build custom sheds. Arrange that work separately. Anchoring is reviewed against the kit and prepared surface, with any limitations confirmed in your quote. We do not provide electrical, gas or plumbing work.
For example, if your kit is in the garage but the proposed location is still lawn, the next task is arranging a suitable base, not asking the assembly crew to bring paving stones. If you already have a pad, send its dimensions and photos with the model link so any questions can be raised before the visit.
Your ready-for-assembly checklist
The exact kit, manual and any accessories have been identified.
The location and any required approvals have been confirmed.
The base is complete and its readiness has been confirmed by whoever prepared it.
The kit’s base dimensions, support, clearances and anchoring requirements have been reviewed.
The cartons are accounted for, with damage or missing items flagged.
The delivery-to-base route and surrounding workspace are clear.
The installer knows where the kit is stored and has current site photos.
If one of these is unresolved, send the details before treating the installation date as settled. A short conversation at this stage is much easier than discovering the gap after the boxes are open.
Have the kit picked out?
Request a shed assembly quote with the product link, manual, postal code, expected delivery date and photos of the base and access route. Tell us whether the base is finished or still being arranged. We will review the assembly requirements so you know what needs to be ready before the visit.
Manufacturer reference checked October 20, 2026. Always use the current instructions for your exact shed model.
